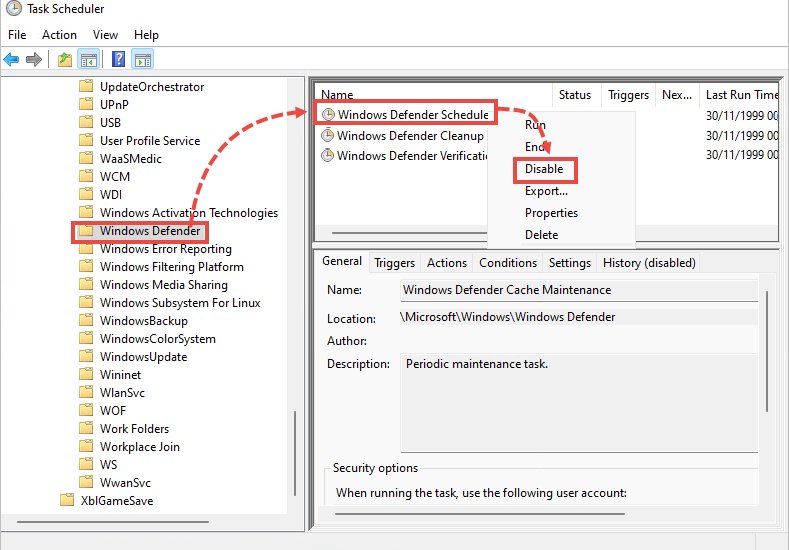
How to Easily Disable Windows Defender in 2025
Disabling Windows Defender may be necessary for a variety of reasons, whether you want to temporarily turn off the built-in antivirus for installation of a new program or manage performance impacts. In this comprehensive guide, we will walkthrough the steps to disable Windows Defender effectively, covering settings for both Windows 10 and Windows 11.
Understanding Windows Defender Settings
The first step to successfully turn off Windows Defender is understanding the various settings that govern its functionality. Windows Defender is integrated into the Windows operating system as part of its security architecture, aimed at providing robust protection against various malware threats. Accessing the windows security settings will allow you to manage the features that you can disable, including real-time protection, cloud-delivered protection, and automated sample submission. It’s essential to familiarize yourself with these settings prior to making any changes, as doing so will help you maintain your system’s security post-adjustment.
Exploring Windows Security Dashboard
The Windows Security Dashboard is your command center for managing Windows Defender. To access it, simply type “Windows Security” into the search bar and click on the relevant result. Here you can review any alerts and manage antivirus programs. Within the dashboard, head to the “Virus & threat protection” section to find options for disabling real-time protection and more advanced configuration settings. By understanding how to navigate this dashboard, you can effectively manage the security aspects of your operating system while understanding what features are available for the protection of your data and system.
Real-Time Protection and System Performance
Disabling real-time protection is a common practice when certain applications or programs conflict with Windows Defender’s scanning processes. In this section, we’ll explore how to disable this feature to improve system performance during intensive tasks, such as gaming or using resource-heavy applications. Navigate to the “Virus & threat protection” settings, and under “Real-time protection,” simply toggle the setting off. This action temporarily stops Windows Defender from running background scans and checking downloaded files. However, remember that this can expose your computer to potential vulnerabilities, so make sure you are comfortable with these risks if you choose to go this route.
Managing Notifications and Background Activity
Another aspect linked with turning off Windows Defender is managing the notifications and background activity it generates. By exploring the windows defender notifications settings, you can mute alerts about threats or scans while keeping the antivirus software functional for your general needs. Additionally, background activity can take up system resources, so it’s prudent to manage what is actively running. Adjust notifications through the “Settings” option under the Windows Security Dashboard for enhanced user experience while you maintain necessary protection levels during active computer use.
Deactivating Windows Defender Features
If you’re looking to proceed further in managing Windows Defender, knowing how to deactivate specific features is vital for achieving your objectives. Whether it’s isolating certain functionalities or turning off the entire antivirus suite temporarily, the “Virus & threat protection” section allows you to toggle off settings like the Defender Firewall and real-time protection. Effectively managing these features ensures you’re using your system resources efficiently while maintaining a good degree of security.
Excluding Certain Folders from Scanning
Another option available for more advanced users is to configure exclusions. By going into the “Virus & threat protection” settings, you can select “Exclusions” to add specific folders that you don’t want Windows Defender to scan. This can lead to faster performance for certain applications or waiting processes that may otherwise be bogged down by continuous scanning. Furthermore, this is particularly beneficial when you are using [third-party antivirus software](https://fixking.info/?p=78) alongside Windows Antivirus, ensuring minimal interference and better efficiency in processes.
Temporary and Permanent Disabling
Understanding the nuances between temporary and permanent deactivation of Windows Defender is essential for best practices. If you only need to turn off have the feature disabled for short periods – perhaps for troubleshooting or testing software – utilize the settings option to disable it until the system is restarted or persists only until the next update occurs. However, if a more lasting solution is what you require, you may need to customize group policy settings or utilize command line options to establish a complete removal of Windows Defender from startup processes.
Disabling Windows Defender Through the Control Panel
Using the Control Panel is yet another option when it comes to managing Windows Defender. This method may be preferred by users who are accustomed to working within the more traditional system settings framework. Access the Control Panel by searching for “Control Panel” in the search box and selecting it. From there, navigate to “System and Security” and then “Windows Defender Firewall.” Here you can configure firewalls to restrict network access and change antivirus settings further. This option is more versatile and may appeal to users looking to revert settings without going through multiple menus.
Utilizing Command Prompt
If you are more technically inclined, you can also opt for command line methods to stop Windows Defender. Open Command Prompt and type “sc delete WinDefend” to halt the service entirely. This is typically advisable for users with a sound understanding of the impact command line operations can have. Using these command line tools allows for easy management of software installations or systems requiring elevated permissions to diagnose issues or trials against system performance.
Adjusting Group Policy Settings
For users operating Windows Pro versions, the Group Policy Editor is a powerful tool for controlling Windows Defender settings. Use it to modify settings such as stopping alerts regarding updates and altering scanning behavior. On the Run dialogue, type “gpedit.msc,” then navigate to Computer Configuration > Administrative Templates > Windows Components > Windows Defender Antivirus. Here, you can adjust policies like disabling Defender permanently or modifying how aggressively the software scans files. This might also help those relying on multiple security programs while preventing software interference.
Key Takeaways
- You can easily disable Windows Defender through multiple methods, including from settings, control panel, or using command line commands.
- Adjusting security settings can help enhance system performance, especially for gaming or resource-heavy applications.
- Utilize feature exclusions to prevent scanning certain folders, which can speed up processes.
- Always ensure a reliable antivirus presence before fully disabling Windows Defender due to potential vulnerabilities.
FAQ
1. What happens if I completely disable Windows Defender?
When you completely disable Windows Defender, your computer will lose its integrated protection against malware and other threats, leaving it vulnerable to unauthorized access and damage. It’s advisable to ensure another form of antivirus is in place before completely disabling.
2. Can I disable Windows Defender temporarily?
Yes, you can disable Windows Defender temporarily by adjusting its settings in the Windows Security dashboard, toggling off the “Real-time protection.” This change only persists until the next system restart or when renewed automatic updates of Windows Defender occur.
3. How do I manage my antivirus settings effectively?
Managing antivirus settings effectively involves regularly reviewing your security preferences, updating virus definitions, configuring exclusions as needed, and ensuring all critical settings align with your operational requirements. Be sure to check the state of any installed programs regularly as well.
4. What are the risks of turning off continuous protection features?
Turning off continuous protection features like real-time scanning opens your system to potential attacks, malware infections, and data breaches since no automated checks or alerts will be in place to help defend against known threats while your computer is connected to the internet.
5. How do I re-enable Windows Defender after disabling it?
Re-enabling Windows Defender is normally as simple as going back into the Windows Security settings and toggling the disabled options back on. The settings will automatically reinstate themselves on restart if you have only disabled them temporarily.
6. Why should I exclude certain folders from Windows Defender scans?
Excluding certain folders from Windows Defender scans can enhance system performance during tasks that involve large files or frequent access to particular directories, minimizing interference while still allowing for optimal protection on all other operational fronts.
7. Is it safe to disable Windows Defender for gaming?
Disabling Windows Defender can provide significant performance gains during gaming; however, it is crucial to ensure that your system has other security layers in place to prevent any malware threats while gaming online or downloading content. Always resume your antivirus coverage when finished gaming.
By following this guide, you can ensure versatility in disabling or managing Windows Defender to fit your personal preferences and operational requirements in 2025.