How to Take a Screenshot on Mac: Essential Tips for 2025
Taking a screenshot on Mac can be a vital task for users looking to capture critical information with ease. Whether for work presentations, sharing snippets on social media, or simply saving content for later reference, knowing the right MacBook screenshot methods can significantly enhance productivity. In this guide, we’ll explore the best ways to take a screenshot on your Mac, covering various keyboard shortcuts, settings, and tools to empower you in 2025 and beyond.
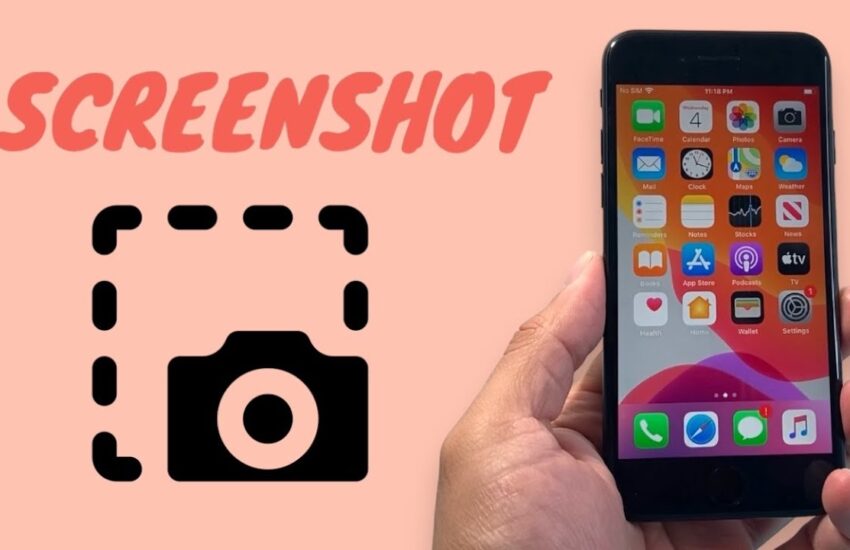
Understanding Mac Screenshot Shortcuts
Mastering the MacBook screenshot shortcuts can save time and simplify the screenshotting process. Mac offers several built-in keyboard shortcuts that allow you to capture different sections of your screen. For instance, pressing Command + Shift + 3 captures the entire screen and saves it directly to your desktop, while Command + Shift + 4 lets you select a portion of the screen to capture. This versatility is essential for anyone engaged in digital content creation or furthering education through visuals.
Capturing Full Screen
If you’re looking to take a full-screen screenshot, the keyboard shortcut is incredibly straightforward. Just press Command + Shift + 3. This method captures everything displayed on your screen, giving you a complete record of the information. The image will be saved in PNG format on your desktop by default. Understanding this Mac screenshot tutorial helps ensure you never miss critical data during meetings or presentations.
Partial Screenshots with Precision
To take a partial screenshot, the process differs slightly. After pressing Command + Shift + 4, your cursor will turn into a crosshair. Click and drag to select the area you want to capture, and release to save it. This option is excellent for capturing specific details without cluttering your desktop with unnecessary images. Knowing how to execute these screenshot steps can enhance your digital experience considerably.
Using the Touch Bar for Screenshots
If you own a MacBook with a Touch Bar, screenshot capabilities are even more accessible. You can customize the Control Strip to include a Screenshot icon. Tapping this icon brings up options similar to the traditional keyboard commands, letting you quickly access different capture functionalities. This secretion of your overall Mac screenshot options provides seamless access to various screenshotting capabilities.
Using the Screenshot Tool on Mac
The Screenshot Tool is another fantastic resource for capturing your screen, launched via Command + Shift + 5. This tool offers a sleek interface that makes it easy to choose between full-screen capture, selected window capture, and specific selection capture. Furthermore, it allows additional adjustments, such as setting a timer for your screenshot. This flexibility makes it an invaluable tool for anyone aiming to maximize their capturing screen on Mac experience.
Screenshot Settings and Preferences
Accessing and adjusting the Mac screenshot settings allows you to customize how and where screenshots are saved. You can change the default save location from the desktop to any folder of your choice, organize your files better, and even choose between image formats like PNG, JPEG, or TIFF. Adjusting these settings ensures your screenshots align with your digital organization strategies.
Editing Screenshots with Preview
After taking a screenshot, you may wish to edit it immediately. Preview offers an excellent editing software option directly integrated into your Mac. Open your screenshot with Preview, and you can annotate, crop, or highlight essential parts of your screenshot, greatly enhancing the information shared with others. Ensuring you know how to edit screenshots on Mac can streamline your workflow significantly.
Capturing Different Content Types
In many cases, you may require capturing specific types of content, like videos or webpages. Knowing how to properly handle these scenarios enhances your screen capturing experience. For example, to capture a screenshot of a video on Mac, ensure you’re playing the video in full-screen mode, then use the Command + Shift + 3 or Command + Shift + 4 options to capture the moment seamlessly.
Screenshots of Webpages on Mac
When it comes to saving screenshots of webpages, you’ll often want to include more than just the visible portion. Consider using the built-in Screenshot Tool and selecting the ‘Capture Entire Page’ feature available through your browser. The output will provide you a comprehensive view of the entire webpage without the need for subsequent concatenation of individual screenshots. This method is part of the MacBook screen capture options that can save hours of manual editing later.
Screenshotting for Presentations
Taking screenshots for presentations requires some finesse. For best results, consider using a light background while capturing—it helps create a clean and readable image. Utilize the editing capabilities in Preview to annotate essential points or highlight specific areas in your screenshots. Follow these Mac screenshot tutorial tips to ensure your presentations are visually appealing and effectively communicate key messages.
Managing and Locating Screenshots
Effective management of your screenshots is crucial to avoid clutter. Knowing how to locate screenshots on Mac allows for easier retrieval and organization. Screenshots are typically saved on the desktop, but using the Screenshot Tool, you can change the saving location to a dedicated folder for media files. Implement best practices for organizing, such as creating designated folders per project or categorizing by usage.
Optimizing Screenshot Workflow
Creating a system for how you save and manage your screenshots is essential. A strong strategy can include folder names that outline the screenshot’s purpose or time stamps for easy tracking. These organizational tactics enhance overall efficiency on your Mac, allowing you to focus on content creation rather than media file management. This screenshot management strategy can ultimately improve your productivity by reducing the time spent searching for files.
Using Third-Party Screenshot Tools
While macOS offers built-in tools, there are several high-quality third-party screen capture apps for Mac that expand your capabilities. Tools like Snagit or Lightshot provide advanced editing features, cloud synchronization, and sophisticated reporting options. They cater to a professional audience, particularly for users who frequently create digital content, enhancing their workflow beyond the default settings available on the platform.
Key Takeaways
- Master basic Mac screenshot shortcuts to capture images quickly.
- Utilize the Screenshot Tool for easy management and customization of settings.
- Tap into editing tools like Preview to enhance your screenshots immediately post-capture.
- Create a systematic approach to manage and organize your screenshots effectively.
- Explore third-party tools for advanced features that complement your capturing needs.
FAQ
1. How can I capture a video playing on my Mac?
To capture a video playing on your Mac, simply press Command + Shift + 4 to select the desired area during playback, or Command + Shift + 3 for a full-screen capture. You can quickly save and edit this video screenshot using Preview if needed.
2. Are there screenshot apps available for Mac?
Yes, there are multiple screen capture apps for Mac like Snagit, Lightshot, or even the built-in Screenshot Tool. Each tool offers distinct features such as advanced editing options, cloud syncing, and GIF creation, making them an excellent choice for professional uses.
3. How do I change the screenshot format on Mac?
You can change the screenshot format in the Screenshot Tool settings. Access the tool via Command + Shift + 5, select ”Options,” and choose between PNG, JPG, or TIFF formats as required for your project.
4. What is the best way to organize screenshots on Mac?
The best way to organize your screenshots is by creating dedicated folders for different projects or topics on your desktop. Additionally, avoiding clutter by moving old screenshots to less frequently accessed folders can improve access and management.
5. Can I use keyboard shortcuts to sequentially take screenshots?
Yes, you can rapidly take multiple screenshots using keyboard shortcuts. Use Command + Shift + 3 for full-screen captures or Command + Shift + 4 for partial captures, repeating the process as necessary for your documentation or projects.
6. Is it possible to capture a scrolling webpage on Mac?
Yes, to capture a scrolling webpage on Mac, you can use third-party screenshots software or browser extensions specifically designed to capture entire web pages without having to scroll manually.
7. How can I annotate my screenshots easily?
You can easily annotate your screenshots using Preview. Open the screenshot with Preview and use the annotation tools to add text, arrows, and highlights to crucial areas of your image, enhancing its readability and effectiveness for presentations or documentation.