How to Record Screen on Windows 10
Understanding Screen Recording Tools
Screen recording is an essential skill in today’s digital environment, especially for professionals creating tutorials, presentations, or gameplay videos. For users wondering how to record their screen on Windows 10, there is a variety of **screen recording tools** available. You can utilize built-in options such as Windows Game Bar or use third-party applications like **OBS Studio**, **Bandicam**, or **Camtasia**. This section will explore the most popular **video recording** options and their specific features. Each tool comes equipped with unique capabilities that cater to different screen recording needs, making it crucial to choose one that aligns with your objectives.
Using Windows Game Bar
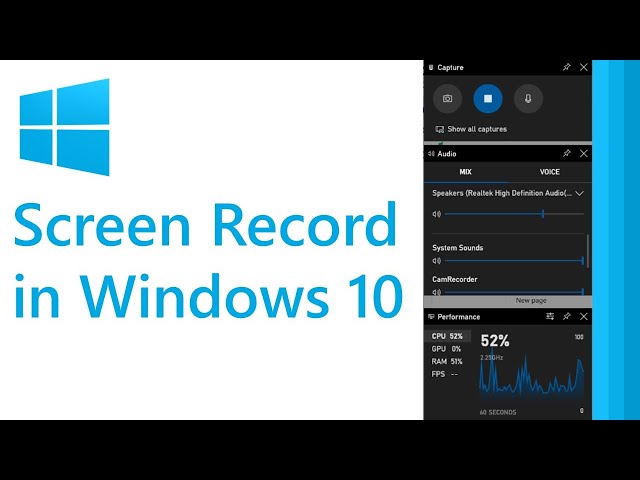
The Windows Game Bar is a powerful yet simple built-in option for **Windows 10 screen recording**. To activate it, press the Windows + G keys simultaneously. This immediately launches the Game Bar, which provides seamless **screen capture** capabilities. To start, navigate to the screen or application you want to record, and click the **record button**. If you’re discussing game footage or performing screen tutorials, the Game Bar allows recording while also capturing **system audio**. Nonetheless, ensure that the specific application you want to capture is in focus; otherwise, Windows Game Bar may not function as intended.
Third-Party Applications for Screen Recording
For users looking for more advanced features, third-party applications like **OBS Studio** or **Camtasia** can be great alternatives. OBS Studio is particularly popular among gamers because of its **live streaming** capabilities along with video recording of high-quality screen recordings. Moreover, Camtasia offers excellent editing tools, making it perfect for those who want to **edit screen recordings** post-recording. Each application provides unique features like recording with sound, integrating webcam recordings, and assembly features enabling comprehensive editing right after your screen capture. Explore these to find the best fit for your recording style and requirements.
Adjusting Screen Recording Settings
Setting up your **screen recording** beforehand can significantly improve the output quality. Most recording tools allow users to customize settings that affect video resolution, frame rate, and even audio quality. For instance, if you are executing a ** tutorial for screen recording**, aim for a frame rate of at least 30fps to ensure smooth video playback. You can also adjust the **audio recording** settings to capture both system audio and microphone input for a comprehensive tutorial. Knowledge of these settings can turn a basic recording into a polished final product.
Step-by-Step Guide to Screen Recording
Now that we’ve covered available tools, let’s dive into a practical guide on how to actually capture your screen effectively. This segment aims to walk you through straightforward **screen recording steps** ensuring you acquire the desired video output while minimizing errors. Whether recording gameplay or conducting a live tutorial, make sure your settings are optimal and you have everything ready. Here you will find tips on how to set up your screen capture to avoid common pitfalls.
Preparing for Screen Recording
Before starting, consider gathering your materials, such as slides for presentations or game assets. Ensure that you close any unnecessary applications that might disrupt recording or affect performance. An organized desktop enhances recording quality by eliminating distractions. Select the area of your **screen** you want to record, whether it’s the full display or a specific window. This preparation sets the stage for a successful recording session.
Executing the Recording Process
Once you’ve set everything up, begin the recording process without delay. When using the Windows Game Bar, simply press Windows + Alt + R to start recording. If using OBS or a similar tool, ensure the right source is selected in the interface, and hit the record button. During the recording, keep your voice clear if you’re providing commentary. **Recording with audio** is crucial for tutorials and presentations. After you feel satisfied with your recording, apply the stop command. This way, you’ve captured exactly what you intended without missing crucial sections.
Saving and Editing Your Recorded Content
Once the screen recording is complete, it’s time to save your work correctly. Most applications will walk you through this with saving options. Name your file descriptively to make future retrieval easier. Utilizing **video editing software** can enhance your recording further. With software like Camtasia or any other preferred editing suite, you can trim unwanted sections, adjust audio levels, and incorporate highlights or call-outs. Editing gives your video content a professional touch, making it more appealing to your audience, whether for a **YouTube channel** or a corporate presentation.
Best Practices for Screen Recording
Adhering to best practices can drastically improve your recording’s quality and effectiveness. By employing thoughtful strategies, your **screen recordings** can convey messages clearly and engagingly. This section covers important tips that can aid beginners and veterans alike in capturing the best possible scenes during their recording sessions.
Ensuring High-Quality Screen Capture
For effective screen recording, it’s essential to prioritize quality. Utilize settings to define the resolution; common values include 1080p or 4K for high-quality captures. Higher resolution outputs often come with larger file sizes, unless configured for size management. Consider your audience—if sharing on platforms like YouTube, HD quality may be necessary to engage viewers. Also, be conscious of your hardware capabilities to avoid **lag during recording** and ensure smooth transitions in textures and colors within your video content.
Tips for Effective Audio Recording
Proper audio quality is pivotal, especially in tutorials or video demonstrations. If your screen recording includes voice narration, invest in a quality microphone to ensure **clear sound**. Every screen recorder typically allows for audio mixing. Experiment with adjusting volume levels separately for both the screen and microphone inputs. Listening back to your recording before finalizing is a must; this ensures there are no echo issues or distortions that can detract from the viewer experience.
Sharing Your Screen Recording
After editing and finalizing the video, you’ll want to consider your distribution options. Utilizing platforms like YouTube or video hosting services can expand your reach. Share **screen recordings** with others through email, cloud services, or even live streaming platforms if you want a more interactive touch. Each platform has varying file size limits and resolution recommendations; glimpse through these requirements before uploading to ensure optimal playback for your audience.
Key Takeaways
- Research and select the right **screen capture software** for your needs.
- Maintain quality by adjusting recording settings tailored for your audience/platform.
- Invest in quality audio equipment for **capturing clearer narration**.
- Engage in quality editing practices post-recording to maximize content appeal.
- Consider the various platforms for sharing your recordings to reach a wider audience.
FAQ
1. Can I record my screen without additional software on Windows 10?
Yes, you can use the built-in **Windows Game Bar** to achieve screen recording without extra software. Simply press Windows + G to activate, then use the record button to start capturing your screen.
2. What is the best software for recording video games on PC?
OBS Studio is widely regarded as one of the best tools for **recording gameplay footage** due to its flexibility and advanced options. Bandicam and Camtasia are also noteworthy based on your recording needs.
3. How do I enhance audio while recording screen tutorials?
Using a quality microphone and ensuring the correct **audio settings** will greatly improve your audio capture during screen tutorials. Remember to perform a test recording to balance levels before starting your final capture.
4. What file formats can I save my screen recording as?
Most screen recording tools allow you to save in common formats such as MP4, AVI, or MOV. Always choose a format compatible with your editing software or intended distribution platform for easy handling.
5. What if my screen recording quality is poor?
Poor recording quality can often stem from improper settings. Ensure a suitable resolution is selected before capturing—aim for at least 1080p. You can also review the performance of your hardware to avoid lag during recordings.